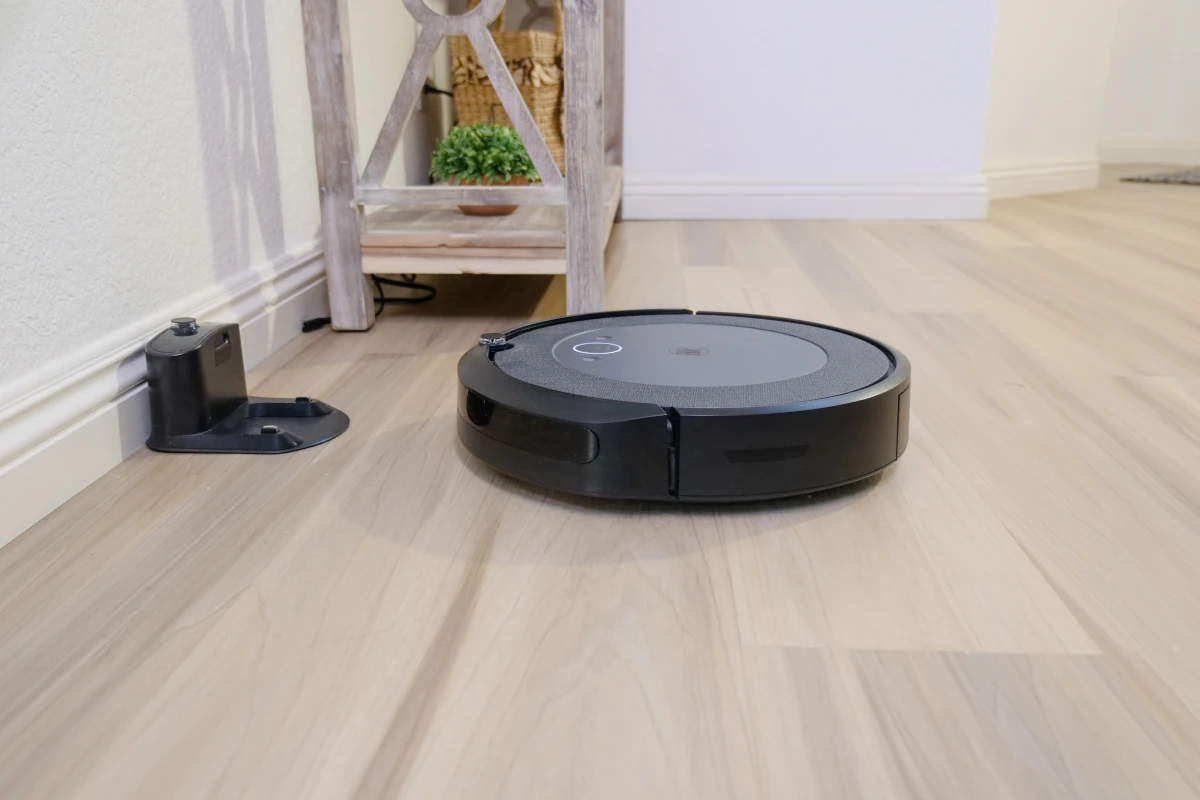
The innovation of Roomba technology has made cleaning much easier. However, your robot may be outdated, causing it to misbehave a bit and you decide to upgrade your Roomba.
This is the time when you would consider removing the old Roomba from your App.
How can you remove the old Roomba from its app if that occurs?
Here is how you can remove the old Roomba from the app.
The easiest way to remove an old Roomba from the app is to conduct a simple procedure factory resetting. You’ll see this “remove/factory reset” option in the device settings. Click on it to remove your Roomba from the app.
It isn’t only about deleting a Roomba when it’s old. It’s also important to disconnect Roomba when you’re selling or giving it to a new owner. Read on to learn essential Roomba procedures such as installation, removal/deletion, and transfer of ownership.

Related:
- Can I Have 2 Roombas On The Same App? (Explained!)
- Why Won’t My Roomba Connect to Wi-Fi or Cloud? (Solved)
- What Is a Dirt Event On a Roomba? (Explained)
How Do I Install a Roomba?
You can begin by downloading the iRobot app on your phone. If you’ve installed the app previously, you’d want to ensure you’re using the updated version. Then open your app and check for possible updates.
iOS is compatible with operating systems 13 or higher. In contrast, Android phones are compatible with operating systems 7.0 or higher.
Here are the tips to follow to configure a Roomba:
Set-up
Keep the clean base on a plain surface void of any obstructions. Ensure that the area has an active Wi-Fi connection before connecting it to the power source. You should see a small bright light at the base.
The charging station should be kept about four feet (i.e. 1.2m) away from your stairs, so it doesn’t fall off. Ensure the power connection isn’t interrupted while the robot stays on the base. The white ring light will spin for some minutes, and the robot will beep to notify you that it’s awake.
When setting up, it’s important that you use your preferred network for operating the robot. You could change it when installation and set-up are done.
Check the internet connection to be sure it’s currently available. A simple way to ascertain this is by doing a random search on your internet browser or google.
You’ll have to connect to your 3g network if your robot model doesn’t support 5g connectivity. Also, check the accompanying guide to know if your model can connect to a Wi-Fi network at all.
Turn on the Bluetooth
Sometimes, iRobot needs a Bluetooth connection to set up and connect the robot to your phone. The iRobot Home app will notify you to turn on the Bluetooth if it’s off for proper set-up procedure.
Location services could also be requested for security purposes. This feature is programmed when using Bluetooth to enable your device to detect nearby Bluetooth robots during set-up.
Give Your Robot a Name
You can change the default name “Roomba” to whatever personal name you prefer. Type the name and click on “Continue”
Link Roomba to Your Wi-Fi Network
The name of your mobile device’s Wi-Fi network should be displayed on the iRobot home app. Next, enter your Wi-Fi network password when you’ve confirmed it as your chosen network. If your password isn’t requested, click the small box on the screen and continue.
Sometimes people enter the wrong Wi-Fi network password. If that occurs, you will get a notification to correct that during or after the set-up.
Your robot and mobile device should share the same network during set-up. Thankfully, you can change this setting later to your preferred network.
To use a separate network with an iOS device during set-up, visit the iRobot home app and select the Wi-Fi network. Afterwards, you’ll have to locate your mobile phone settings and change the network.
To use a different Wi-Fi with an android device during the set-up process, click on “change Wi-Fi network”. Next, you’ll select your preferred network from the menu.
Activate Roomba
The Wi-Fi network connecting your Roomba needs to be turned on after the set-up to enable your device to track the robot.
Roomba variant like the j7 doesn’t require this particular step because it’s automatically activated when turned on from the start. Place the robot on its base, then simultaneously press and hold “Spot” and “Home” clean buttons until there’s a beep. This sound lasts for about three to five seconds.
Some robots show a beaming green Wi-Fi icon, while others beam a blue ring light. Go to the app and confirm this step. You should see an “I pressed the buttons” box, click it and continue.
At this stage, your phone should track the robot so that you can control and adjust it from the iRobot home app. If your device can’t locate the robot, you may need to reboot the robot. Press the “Clean” button until the ring light changes color to white and swirls clockwise for 10 to 20 seconds.
If you find linking your robot to the app a bit challenging, confirm that your router uses superior firewall configurations. Also, ensure that the appropriate ports are opened. If you experience further difficulties, don’t hesitate to contact any available iRobot customer care.
How Do I Remove Old Roomba From App?
A Roomba is an excellent addition to any home with an optimal internet connection. It feels great to relinquish the stress of vacuuming to an efficient robot.
However efficient the Roomba is, there’s a possibility it’ll develop slight problems. If not, you might want to trade it for an upgraded model after enjoying it for a while. Whatever the case is with your Roomba, you’ll need to disconnect it
To remove old Roomba from the app, you’ll need to perform a hard factory reset. A hard factory reset requires the Roomba companion app. This hard reset will wipe the entire user data from the Roomba cloud, the app, and your vacuum.
Open your Roomba app and click on the settings to do this hard reset. Then, tap the “reset factory” option. Once you’ve done this, your Roomba should automatically start resetting.
This action will disassociate the Roomba from its iRobot app. All language preferences, timezone indication, and cleaning selections will return to their custom setting. Every saved user information inputted in the iRobot account will be wiped off, including the systemized home interconnections.
The designed and saved map upgrade will also wipe if your Roomba is upgraded to use maps. That said, if you perform the factory reset from the Roomba itself, the app data, linked accounts, and the cloud data won’t be deleted. When you’ve completed the factory reset steps, you can proceed with your Roomba’s configuration process.
How Do I Transfer Ownership of My Roomba?
You can transfer ownership of your Roomba should you want to sell or give it out. The easiest way to begin is to do a factory reset so that every data in the Roomba is deleted. This way, the Roomba is refreshed as though it was new, giving its new owner a fresh experience.
If you bought an already used Roomba or borrowed it from a friend, don’t forget to do a factory reset. This step is important to wipe the entire memory and disconnect the robot from the former iRobot account. It also disconnects the default data from its previous account.
A new user can only commence the Roomba’s set-up procedure successfully after a factory reset.
How to Factory Reset Roomba?
Ensure that both your Roomba and device are connected to your Wi-Fi network, then open the Roomba’siRobot app.
Locate the settings and click on “remove/factory reset”. Your Roomba is set for a new learning process!