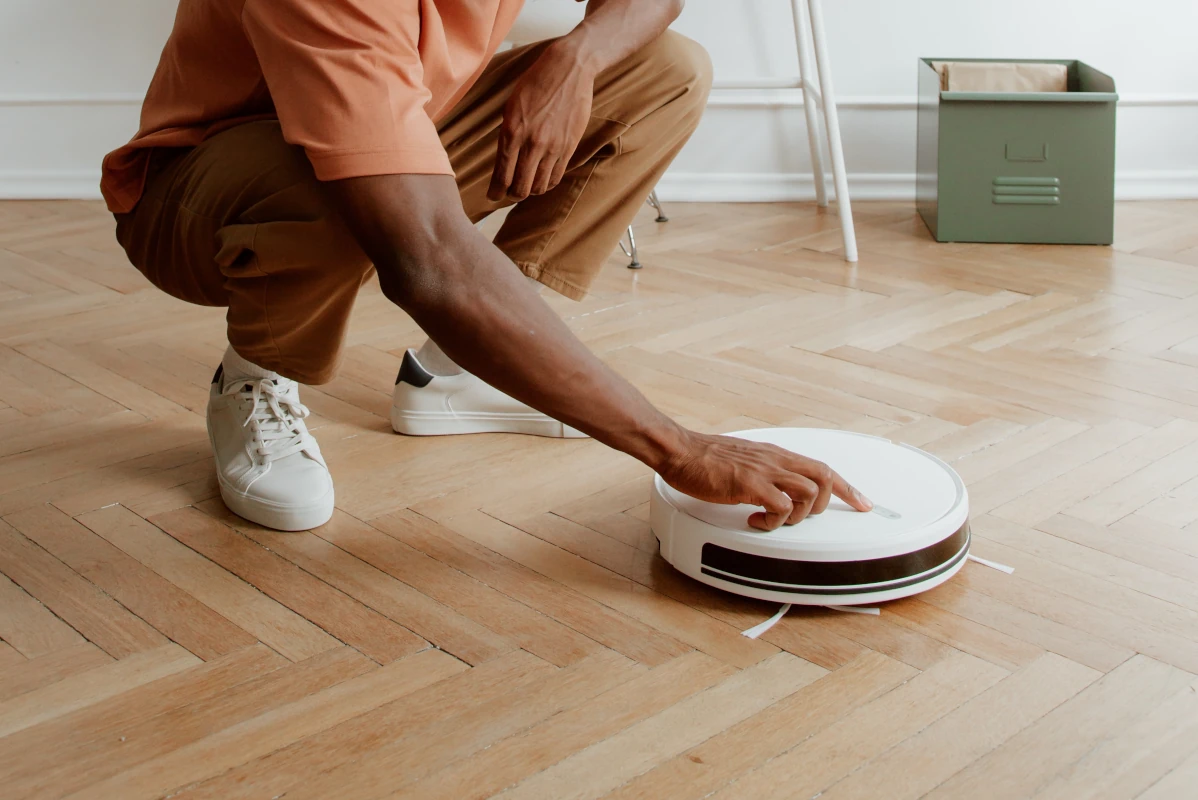
Roomba vacuum robots sold by iRobot are renowned for lessening people’s burden in cleaning their homes.
However, like every other electronic device, these robots can break down at any given point. People often experience problems with this iRobot as it fails to dock or turn on.
Is it worth it to repair Roomba?
Most people will dispose of old or broken Roombas without realizing they are repairable adding a few more years to the lifespan. There are several ways to repair an iRobot Roomba in the comfort of your home and components/spare parts are readily available which makes it worthwhile to repair. Nevertheless, you should know that self-repair will invalidate your warranty. So if you are unsure how to assemble a robot after disassembling it, it would be wise to hire a professional.

As an end-user, you should be able to identify what is wrong with your Roomba because most of the time, the problems need simple fixes like replacing batteries or other components like the filter, rolling brushes, and caster wheel.
So how do you troubleshoot a faulty Roomba? We will give a masterly insight into how to ascertain what is wrong with your Roomba and what to do with it. Despite that, you must comprehend that some defects are beyond repair and are not worth the trouble.
Related:
- How Many Years Will My Roomba Last? (Answered)
- Is it Worth it to Repair Roomba? (Might Surprise You)
- How Does Roomba Know When to Stop Cleaning? (Explained)
Are Roombas repairable?
Roombas and other robot vacuum cleaners require constant maintenance. Lack of thereof might lead one to have a bad experience while using the cleaners. Most Roomba issues are fixable in an instant.
What kinds of malfunctions do Roombas have, and how can I fix them?
Brushes not spinning
At times your device’s side brushes may fail to spin. It happens when dust, dirt, and hair have accumulated underneath the machine; this is easily fixable by detaching and wiping the brushes clean with a dry piece of cloth.
However, this measure yields no results in some cases, which indicates that the Roomba’s gear is stuck. To fix this, first, you must turn the Roomba on its side. After that, remove the center screw with a screwdriver, then take out the brush.
You will have to take the engine out by removing the two bolts at the edges of the chamber to access the side brush motor. You will also see a blue motor housing that comes in two pieces. While unscrewing the bolts, take care not to harm the head.
You can open the motor housing using a thin flathead screwdriver, where you will see a wide gear, metal box, and electric motor. You must locate the hexagonal piece where the side brushes mount and gauge them using your hands or pliers to determine if they will turn within the housing.
You will find it quite impossible to pop the gear out; still, you may proceed with twisting it nonstop. The axle will spin after you free the stuck gear if you test the motor. You should also clean the housing and change your brushes to get your device to work appropriately.
Refusal to turn on or charge
At times your Roomba robot may decline to respond in any way; this issue is common in both new devices and those that have been in use for quite some time.
Roomba iRobot designates an error code to indicate a charging issue. A device with no charging defects would not emit any light since it conserves energy. If there is an issue with the robot, you will see a troubleshooting flickering light which will be accompanied by an “uh-oh.”
There are various error codes. Code 1 indicates that the battery and base station are not integrated. Codes 2, 3, 5, 8, and 9 show that the issue lies in the battery. They also denote a contact issue between a battery and a home base. Codes 6 and 7 are indicators of temperature-related impediments. Users should know these codes to designate the root of problems easily.
If you experience inactivity right after unboxing your iRobot, check if the batteries have been well placed; if not, insert them the correct way. Also, check the device’s functionality by plugging in the home base. The robot will indicate a charging error through an indicator light glimmering every 4 to 5 seconds.
If you have used your Roomba and it refuses to charge, clean the debris on the charging ports. Also, detach the caster wheel, check for any dirt and clean it as well. After that, put the device on the home base, give it some time to charge, then check for the error indication flicker.
If your Roomba still fails to charge, you may be using the wrong type of battery. Alternatively, it could be a contact dust or power source issue.
Refusal to dock
Many aspects may make a robot vacuum refuse to dock. If you fail to clean the device frequently, it will stop working. Bad batteries and sensors could also make the vacuum cleaner find trouble navigating around your home.
Always open the home base in an open place and scrutinize the charging cable for impairment. Additionally, make certain the power indicator lights up solid green.
Do away with any obstructions or a virtual wall within 2.5 m of the home base. Check if your iRobot can return to its Home base and constantly clean the charging ports.
Refusal to connect to Wi-Fi
High-end Roombas have Wi-Fi connectivity, yet many have complained of experiencing connection problems. So what can you do in this case?
Always check to ensure you have the right Wi-Fi frequency. For instance, your Wi-Fi could be a 5GHz network, yet your robot vacuum cleaner is not. If your network is compatible with your device, reboot your Wi-Fi router and restart your iRobot.
Circle dance
Roombas often encounter a “circle dance” issue where they circle backward then halt almost immediately. This issue is fixable by thoroughly cleaning parts of the device. Hence, at times the problem may not be as bad as you think. Even so, if you try all the hacks mentioned and fail to get positive results, you can look for a professional technician to help you.
How can I reset a Roomba?
If your Roomba has reduced performance, you can fix it by resetting it. Do not change the device’s battery before doing so.
Ensure the Roomba is on a charge, press the clean button, and hold it for a few seconds up till it displays “r 5Y.” Leave the device in clean mode until you hear a beep sound that signals the completion of the reset process.
After this procedure, make sure to leave the Roomba inactive for at least a day before using it; this can make the device as productive as before. After the wait, you must reprogram the Roomba because a reset deletes every other data you might have logged into it.
Is it worth it to repair Roomba?
It is worth it to repair a Roomba, depending on its malfunction. But first, check to see if your warranty is still valid because you should not go through the hassle of fixing it when you can have a professional do it for free.
The most-reported problem with Roomba lies in its charging and batteries. After consistent use, most gadgets often refuse to charge. I earlier mentioned how to detect this problem and how to solve it. We hope you can do it effortlessly.
What can I do with an unfixable Roomba?
In certain instances, you can try varying methods to repair a malfunctioned Roomba but to no avail. In such cases, if you choose to sell or dispose of your device, ensure to get rid of any data attached to it, for instance, your home address and name. So ensure you restore it to factory settings.
In cases where the cleaner is completely broken, it is impossible to factory reset it. The best thing to do will be to thoroughly dismantle it before throwing it. Technology has made life easy for humanity, yet it also deprives people of privacy. Thus, do not risk selling or throwing anything with your data.
How often should I replace my Roomba parts?
Depending on how dirty your home is, you should replace the extractors every six to twelve months. It would be best to clean them at least once or twice a week. Replace the filter every two months and the brushes every six to twelve months. It would help if you exchanged the front caster wheel once it wears out; nonetheless, it is recommendable to change it after a year.
Remember, you should clean these components at least weekly or after every two weeks so they can serve their purposes perfectly. Other parts like the bin, full bin sensors, localization camera, floor tracking sensor, side brush, and cliff sensors do not need replacement but regular cleaning.
The duration of replacing Roomba’s parts is dependent on usage. If you rarely use your gadget, then you may stay with its parts for an extended period before replacing them.
To conclude, if you feel lazy keeping up with a robot vacuum cleaner’s maintenance, opt for a model that can empty its dustbin. This way, you will be less prone to encounter breakdown issues. Also, set calendar reminders to replace the mentioned components.


